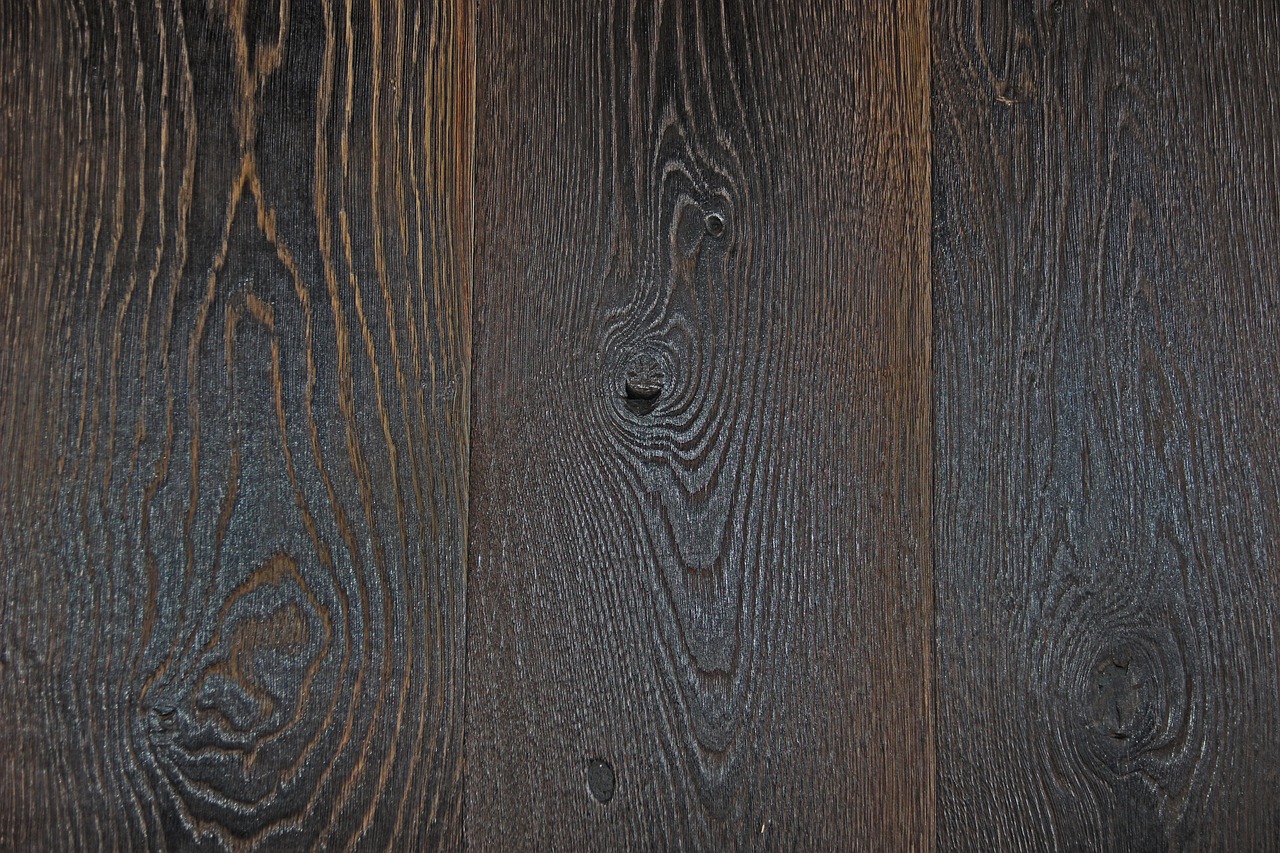
Are you tired of the limited options when it comes to wood stains? Do you want to create a custom look for your woodworking projects? Then making your own wood stain might be the solution you’re looking for. Not only will it allow you to personalize the color and shade of the stain, but it can also save you money in the long run.
In this blog post, we’ll guide you through the step-by-step process of making your own wood stain from natural ingredients. Plus, we’ll share some tips and tricks to help you achieve the perfect finish.
What is Wood Stain?
Before we dive into the details of making your own wood stain, let’s define what it is. Wood stain is a substance that is applied to wood to change its color and enhance its natural grain. It’s commonly used in woodworking projects such as furniture, flooring, and cabinetry.
Commercially available wood stains are typically made from synthetic or natural pigments, solvents, and resins. These stains are easy to use and come in a wide variety of colors and shades. However, they can be expensive and may contain harmful chemicals.
Making your own wood stain allows you to control the ingredients and tailor the color to your specific needs. Plus, it’s a more eco-friendly option as you can use natural ingredients that are safer for the environment.
Ingredients and Supplies
To make your own wood stain, you’ll need a few basic ingredients and supplies. Here’s what you’ll need:
Steel wool pads
Mason jar with a lid
Coffee filter or cheesecloth
Distilled white vinegar
Tea or coffee grounds (depending on the color you want to achieve)
Gloves
Protective eyewear
Stirring stick
Making the Wood Stain
Step 1: Prepare the Steel Wool
The first step in making your own wood stain is to prepare the steel wool. This will be the source of the pigment in the stain. Take one or two steel wool pads and tear them into small pieces. Place them in a mason jar.
Step 2: Add the Vinegar
Pour enough distilled white vinegar into the mason jar to completely cover the steel wool. Secure the lid on the jar and shake it well to mix the ingredients.
Step 3: Steep the Mixture
Place the jar in a cool, dark place and let it steep for at least 24 hours. The longer you let it steep, the darker the stain will be.
Step 4: Strain the Mixture
After 24 hours (or longer), strain the mixture through a coffee filter or cheesecloth to remove any solids.
Step 5: Add the Coffee or Tea Grounds
To add color to the stain, you can use either coffee or tea grounds, depending on the shade you want to achieve. Add a small amount of coffee or tea grounds to the vinegar mixture and stir well.
Step 6: Test the Stain
Before applying the stain to your project, test it on a scrap piece of wood to ensure you’ve achieved the desired color. If it’s too light, add more coffee or tea grounds. If it’s too dark, dilute it with more vinegar.
Applying the Wood Stain
Once you’ve made your own wood stain, it’s time to apply it to your project. Here are some tips to help you achieve the perfect finish:
Wear gloves and protective eyewear to avoid getting the stain on your skin or in your eyes.
Stir the stain frequently to ensure the pigment is evenly distributed.
Apply the stain in thin, even coats using a brush or rag.
Allow each coat to dry completely before applying the next one.
Sand between coats to ensure a smooth finish.
Seal the stained wood with a clear coat to maintain the new color of the wood and to add some protection against wear.
Our website is supported by our users. We sometimes earn affiliate commissions when you click through the affiliate links on our website.
Click Here to download your free 440 page Woodworking Book with 50 free Plans
Post 8