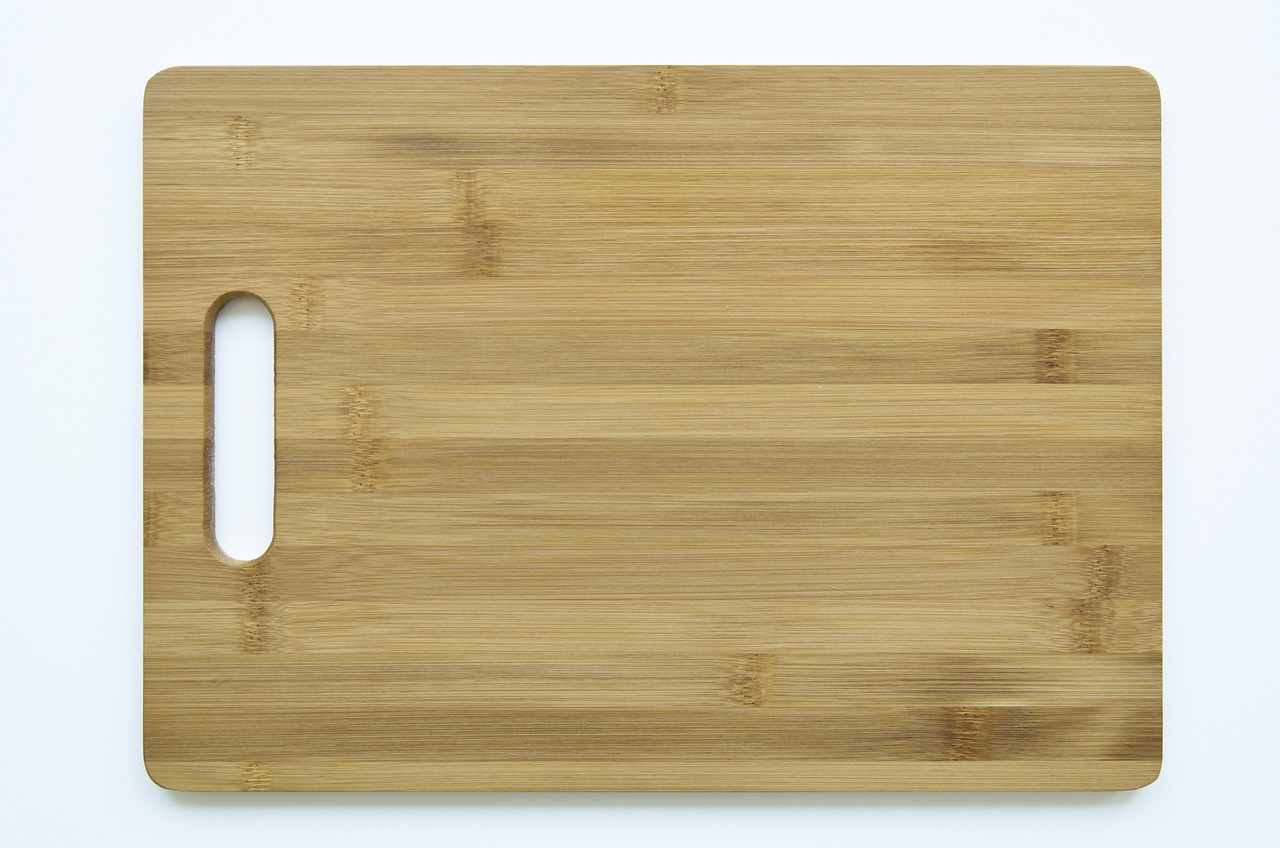
If you’re a home cook, a wooden cutting board is an essential tool in your kitchen. Not only does it look beautiful, but it’s also sturdy and durable. A well-made wooden cutting board can last for years, and with proper care, it can become an heirloom that you can pass down to your children. In this blog post, we’ll teach you how to make a wooden cutting board from scratch. Follow these steps, and you’ll have a beautiful and functional cutting board in no time.
Step 1: Choose Your Wood
The first step in making a wooden cutting board is choosing the right wood. Not all woods are suitable for cutting boards, as some are too soft and can easily be damaged. Hardwoods like maple, walnut, cherry, and teak are excellent choices for cutting boards. Maple is the most popular choice as it’s affordable, readily available, and has a tight grain that resists knife marks. Walnut is another great choice, as it’s durable and has a rich, dark color. Cherry is a softer wood, but it has a beautiful reddish-brown color that can darken over time. Teak is the most expensive of the four but is highly resistant to water and moisture.
Step 2: Plan Your Board
Once you’ve chosen your wood, it’s time to plan your board. The size and shape of your board will depend on your needs and preferences. A typical cutting board is around 12 inches by 18 inches, but you can make yours larger or smaller if you like. You’ll also need to decide if you want to make a rectangular or circular board. Remember, a circular board will require more work and precision, but it can be a beautiful addition to your kitchen.
Step 3: Cut Your Wood
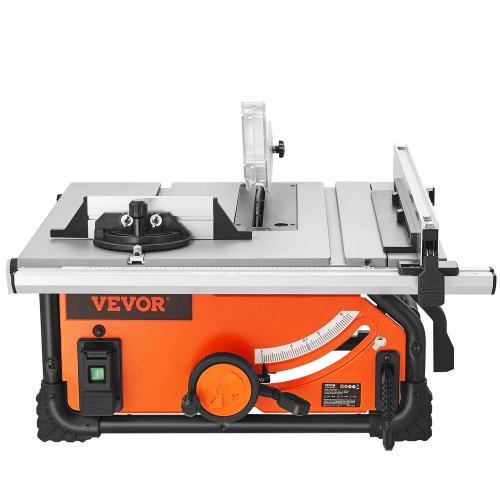
With your plan in hand, it’s time to cut your wood. Use a table saw or circular saw to cut your board to the desired size and shape. Be sure to wear safety goggles and ear protection, and follow all safety precautions when using power tools.
Step 4: Sand Your Board
Once you’ve cut your board, it’s time to sand it. Use a belt sander or orbital sander to sand the surface of your board until it’s smooth. Start with a coarse grit sandpaper, like 80 grit, and work your way up to a finer grit, like 220 grit.
Step 5: Round the Edges
Next, it’s time to round the edges of your board. Use a router with a roundover bit to round the edges of your board. This will give your board a smooth, finished look and prevent it from splintering.
Step 6: Finish Your Board
The final step in making your cutting board is to finish it. Apply a food-safe finish like mineral oil, beeswax, or a mixture of beeswax and mineral oil to the surface of your board. This will protect your board from moisture and make it easier to clean.
Conclusion
Making a wooden cutting board is a fun and rewarding DIY project that anyone can do. By following these simple steps, you can create a beautiful and functional cutting board that you’ll be proud to use in your kitchen. Remember to choose the right wood, plan your board, cut your wood, sand your board, round the edges, and finish your board. With a little time and effort, you’ll have a cutting board that will last for years and become a cherished family heirloom.
Our website is supported by our users. We sometimes earn affiliate commissions when you click through the affiliate links on our website.
Click Here to download your free 440 page Woodworking Book with 50 free Plans

VEVOR 10″ Table Saw Electric Cutting Machine 4500RPM 25-in Rip Capacity Woodwork$185.99